

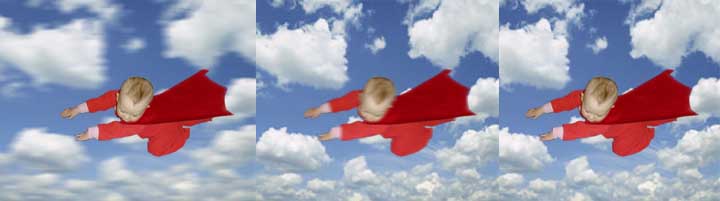
Students are shown photographs that illustrate how shutter speed influences, or contributes to, motion blur. Students are to use the digital cameras and set up situations where they can illustrate motion blurs in their photographs. Some may be able to hand in their raw photographs, while others may need to use Photoshop's motion blur filters to effectively convey the desired motion blurs. Using similar or identical photographs, students are to illustrate the motion blur that could happen with:
Evaluation:
3 points -- Accurate representation of shutter speed blurring effects.
3 points -- Accurate motion blurs (all parts that should be blurred are.)
2 points -- Quality of photograph(s) used.
2 points -- Followed directions.(Students: click here for specific directions)
10 points total
Below is an example of how important shutter speed is. The Helicopter's blades are turning but the camera's shutter is firing in sync with the blade rotation, causing it to look as if the blades aren't moving. A strobe light can a similar effect.
See also this image that explains the "Exposure Triangle".
Click here to see my example and explanation
local PSD examples