

1. Crop a landscape into a long narrow panorama or take multiple shots and stitch them together into a panoramic photo. Planets work best if a complete 360 degree view is used so the left and right edges line up with each other.
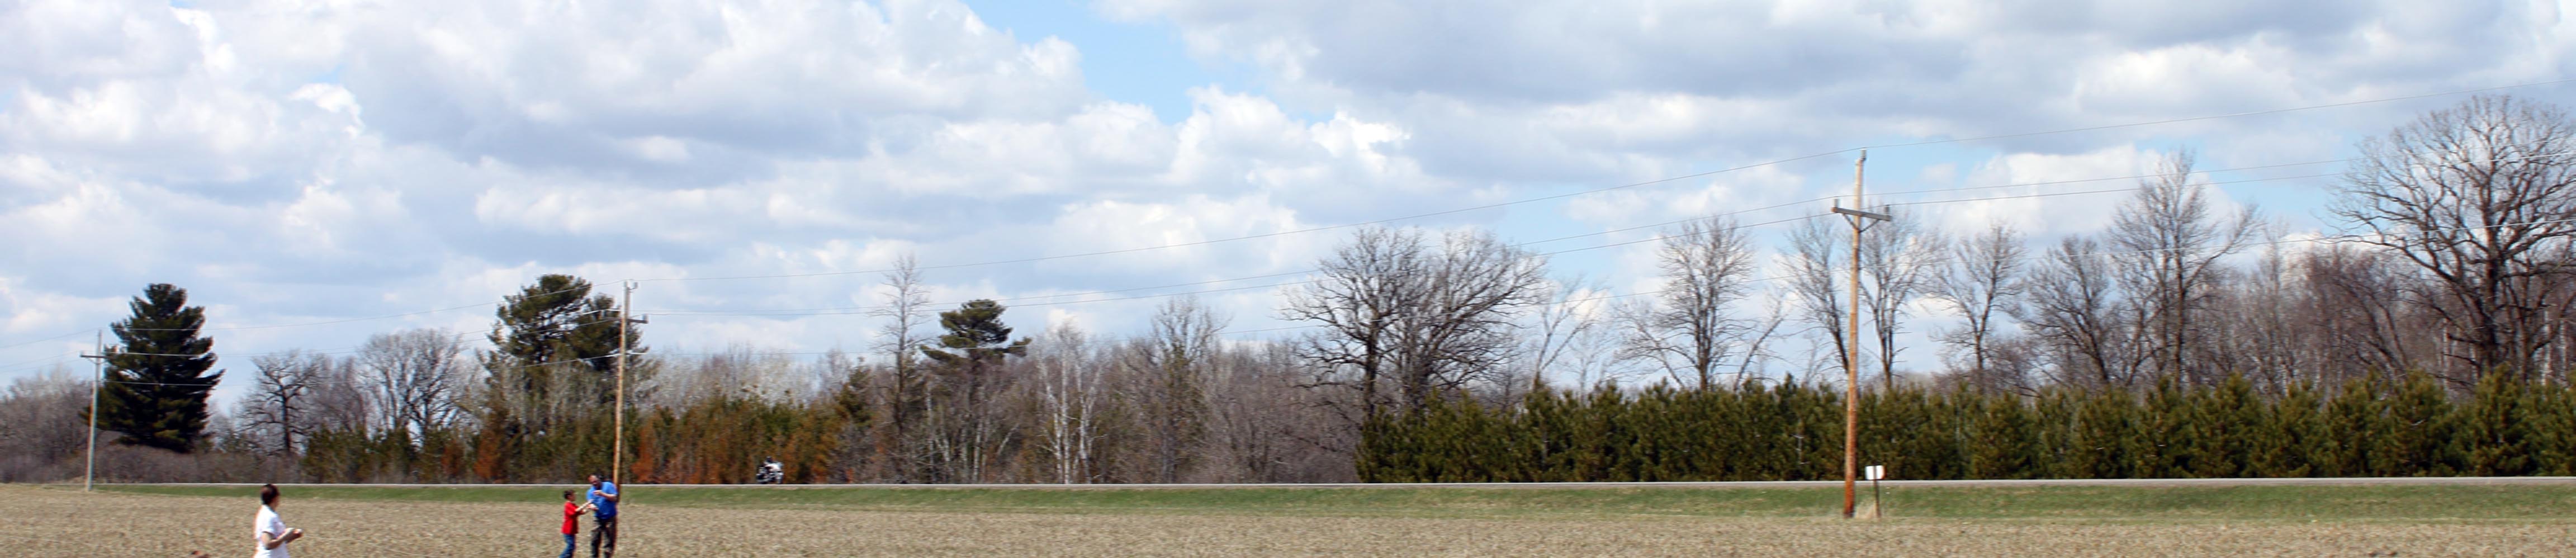
2. Select Image Size from the Image Menu. Uncheck the "Constrain Proportions" box and make the width and height the same. (You're squishing the image to fit into a square.)
3. Flip the image upside down. (Image: Rotate Canvas: 180, degrees)
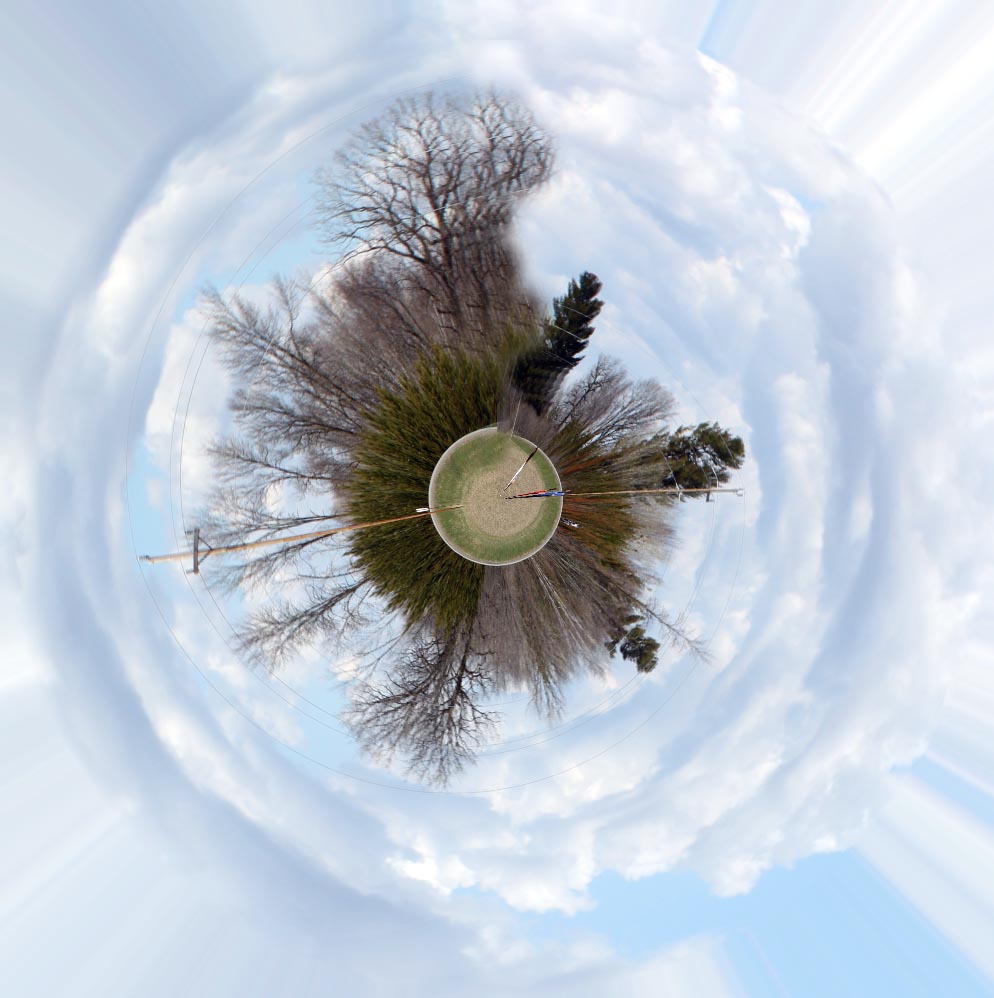
4. Now rotate it into a ball using the Polar Coordinates Filter. Go up to the Filter menu down to Distort and select Polar Coordinates. Make sure Rectangular to Polar is selected and click OK.
5. Touch up the seam to make it blend "seamlessly".
Students will make two planets from two different photos. They must hand in their original panoramic photo titled "Planetyourname1.psd" and their finished planet as "Planetyourname1b.psd" The other two will be titled similarly but 2 and 2b.
The photos used for this project must be taken specifically for this project. No old photos may be used. (I'll check the metadata to be sure.)
Evaluation:
4 points -- Followed directions
4 points -- Quality of original photos
2 points -- Undetectable seam where front and back of photo come together
10 points total

From "Rethinking Digital Photography by John Neel"