
Students are shown examples of our finished projects and given a demonstration on how to draw and cut out their images from styrofoam "meat" trays. Special note is made that the images will be reversed so any letters need to be made backwards so that they print correctly.
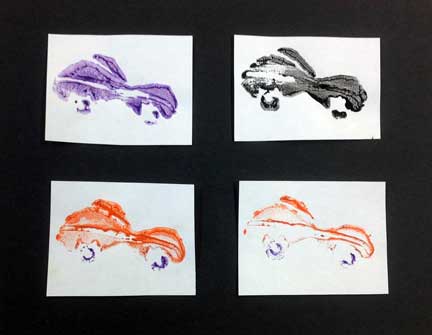
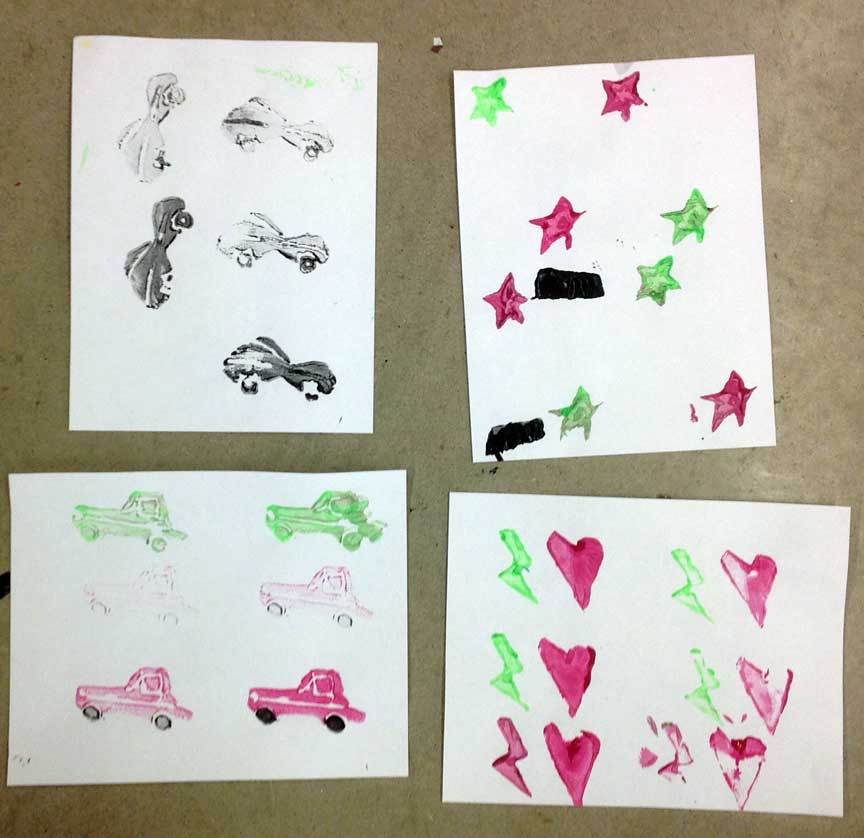
Drawing with dull pencils indents the styrofoam and leaves lines that can add detail to their prints. After the image is cut out, students glue the image to the back of another styrofoam piece. When the glue is dry we apply paint with brushes and print our images by stamping the tray-cut onto paper multiple times.
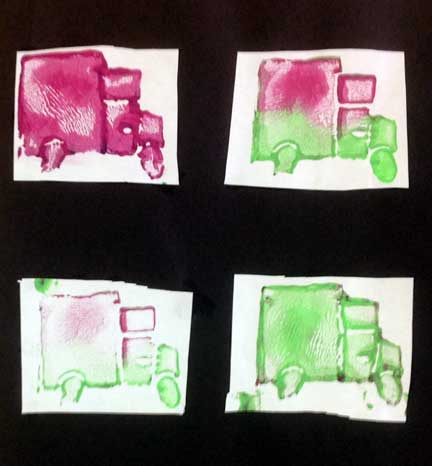
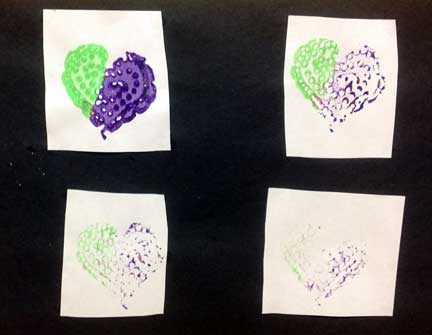
Multiple colors can be applied to different areas of the image to add detail.
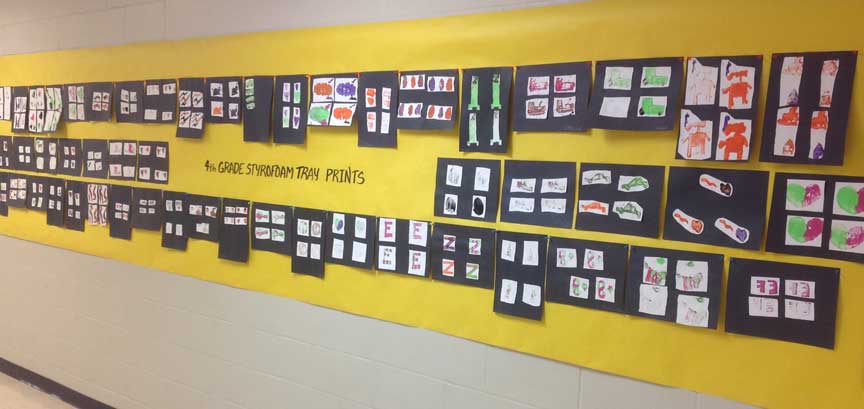
When the prints are dry we discuss "Art Presentation" and how important it is to present your artwork nicely. Students will cut out 4 prints and mount them on a black "frame" so we can hang them in the hall.