
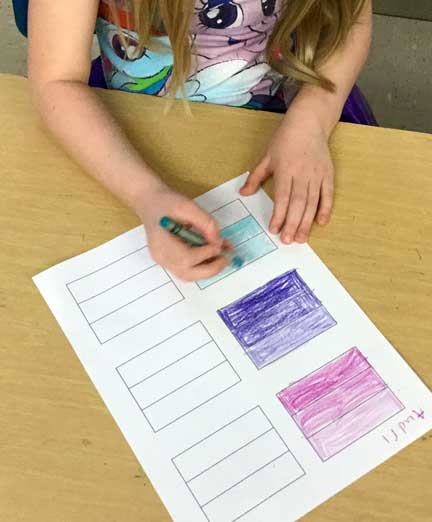
First student are shown how crayons can color lightly by pressing lightly, medium by pressing a little harder, and dark by pressing really hard. Students are then given a practice worksheet with rectangles on it. They need to choose a color and use it to shade in each rectangle light, medium, and dark. Then choose another color and do the same on the next section of rectangles.
When they have finished two sets of different colored rectangles, they need to bring their work up to the teacher for approval. The teacher gives each student advice on how to make his or her practice sheet better. The students can then move on to the next two sets of rectangles but they need to choose two new colors for those. After the second set of rectangles is approved by the teacher, students can turn it over and color what they want until it's time to move on.
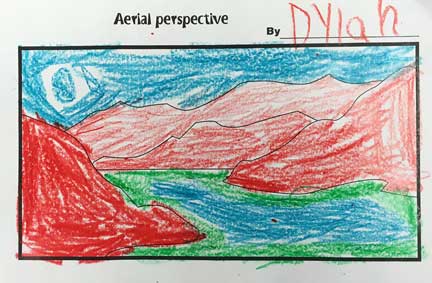
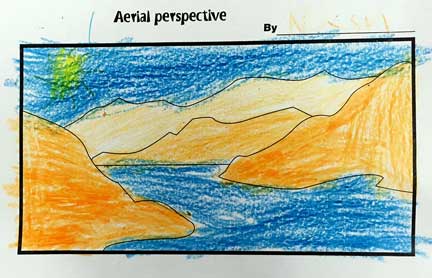
Next, Students are shown examples of Aerial Perspective in real life.
Students are given a worksheet where they can practice using light, medium, and dark coloring to simulate aerial perspective in a way where everyone experiences some success.
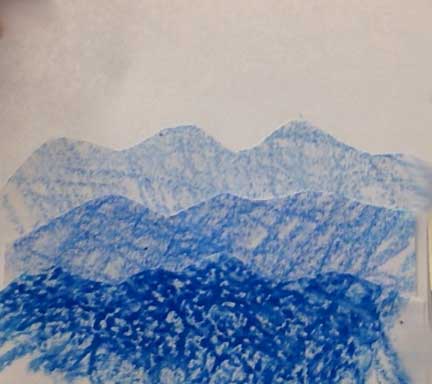
Finally, students choose one crayon and color large squares of their paper (find handout here) light, medium and dark, using the skills they learned in the previous exercise. (Alternately they may choose 3 different shades of a color and use those three crayons to get the light, medium, and dark shades.)
Students then draw a wavy line through each and cut that line out to form hills.
They glue each piece of "hilly paper" to a background page arranging the "hills" so that they appear lighter farther away (or closer to the top of the page).