
We start by putting 5 circles on the page. Making sure there is vertical space between each and making sure each one is a little different size.
Next we connect the circles with curved lines. The curved lines start on the side of the circle, not the top ("No cherries can be made"). The lines we use look like Dr. Seuss N's.
Then we erase the tops of the circles inside our "ooze" and add little circle shines to the bottom of each drip.
A coloring lesson is covered next. Using the lightest color, they color the whole drip except for the shine. Next they use a darker variation of the color and color the outline a little darker. (Younger students are given a handout) and color it to look like a shiny liquid.
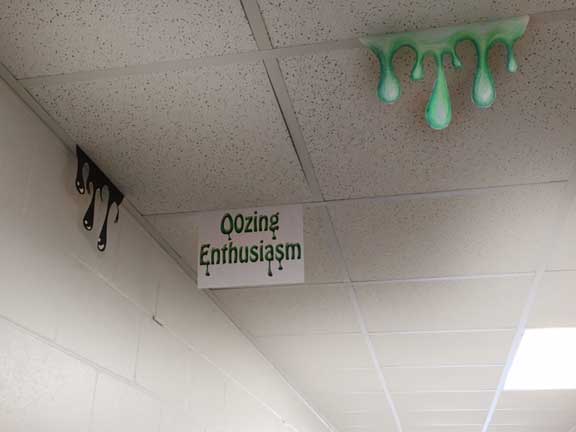
The teacher then hangs the Ooze from the ceiling or tapes them to the wall.